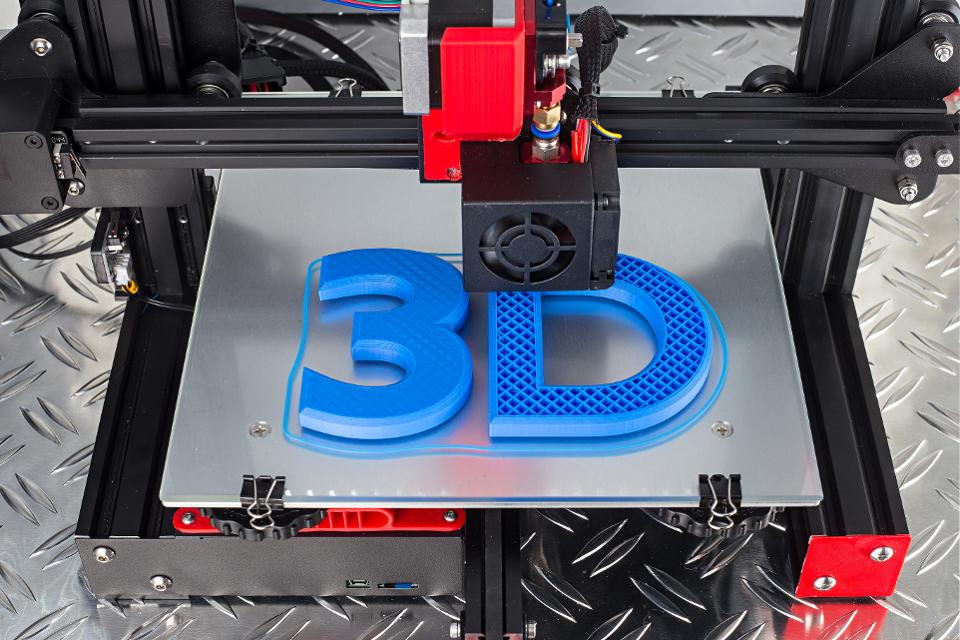
One of the most exciting applications of 3D printing service is the ability to create interlocking parts and assemblies. These parts can snap, twist, or slide together to form functional assemblies without the need for additional fasteners or adhesives. In this comprehensive guide, we will explore the process of designing and 3D printing interlocking parts and assemblies, covering everything from design principles and material selection to printing techniques and post-processing.
Understanding 3D Printing Interlocking Parts and Assemblies
Interlocking parts are designed to fit together in a specific way, often using features such as tabs, slots, pins, and holes. These features allow the parts to be assembled without the need for additional hardware, making the assembly process simpler and more efficient. Interlocking assemblies can be used in a wide range of applications, from simple snap-fit enclosures to complex mechanical systems.
Benefits of Interlocking Parts and Assemblies
-
Ease of Assembly: Interlocking parts can be quickly and easily assembled without the need for tools or fasteners, reducing assembly time and labor costs.
-
Reduced Weight: By eliminating the need for additional hardware, interlocking assemblies can be lighter than traditional assemblies.
-
Improved Aesthetics: Interlocking parts can create clean, seamless assemblies with no visible fasteners, resulting in a more polished appearance.
- Enhanced Functionality: Interlocking features can add functionality to the assembly, such as allowing for easy disassembly and reassembly for maintenance or repair.
Design Principles for Interlocking Parts
Designing interlocking parts requires careful consideration of several key principles to ensure that the parts fit together correctly and function as intended. Here are some important design principles to keep in mind when 3D Printing in bangalore:
1. Clearances and Tolerances
When designing interlocking parts, it is essential to account for the clearances and tolerances required for a proper fit. Clearances refer to the intentional gaps between mating parts, while tolerances are the allowable variations in dimensions due to manufacturing processes.
-
Clearances: Ensure that there is enough clearance between mating parts to allow for easy assembly and disassembly. Too little clearance can result in parts that are difficult to assemble, while too much clearance can lead to loose, wobbly assemblies.
-
Tolerances: Consider the tolerances of your 3D printer and material. Different printers and materials have varying levels of precision, so it is important to design with these tolerances in mind to ensure a proper fit.
2. Snap-Fit Features
Snap-fit features are commonly used in interlocking parts to create secure, yet easily removable, connections. There are several types of snap-fit features, including cantilever snaps, annular snaps, and torsional snaps in 3D Printing Bangalore.
-
Cantilever Snaps: These snaps consist of a flexible beam with a hook or barb at the end that engages with a corresponding slot or hole. Cantilever snaps are easy to design and can provide a strong connection.
-
Annular Snaps: These snaps use a ring or annular feature that snaps into a corresponding groove or recess. Annular snaps are often used for cylindrical or round parts.
-
Torsional Snaps: These snaps rely on twisting or rotating motion to engage and disengage the snap feature. Torsional snaps can provide a secure connection and are often used in applications where rotational movement is required.
3. Alignment Features
Alignment features help ensure that interlocking parts are properly oriented and aligned during assembly. Common alignment features include pins and holes, tabs and slots, and guide rails.
-
Pins and Holes: Pins and holes are simple and effective alignment features that ensure parts are correctly positioned during assembly. Pins can be designed to fit snugly into corresponding holes, providing both alignment and additional stability.
-
Tabs and Slots: Tabs and slots are another common alignment feature that can help guide parts into the correct position. Tabs can be designed to fit into corresponding slots, ensuring proper alignment and preventing misalignment.
-
Guide Rails: Guide rails are linear features that help guide parts into the correct position during assembly. Guide rails can be used in conjunction with other alignment features to ensure precise alignment.
4. Interference Fits
Interference fits, also known as press fits, rely on the interference between mating parts to create a secure connection. Interference fits are commonly used in applications where a strong, permanent connection is required in 3D Printing service in chennai.
-
Designing Interference Fits: When designing interference fits, it is important to carefully calculate the interference between mating parts to ensure a secure connection without causing damage to the parts. The amount of interference will depend on the material properties and the desired strength of the connection.
5. Living Hinges
Living hinges are flexible, thin sections of material that allow for bending and movement between two rigid parts. Living hinges are commonly used in applications such as lids, covers, and enclosures.
-
Designing Living Hinges: When designing living hinges, it is important to consider the material properties and the required flexibility. The hinge should be designed with a thin, consistent cross-section to ensure even bending and prevent stress concentrations.
https://www.youtube.com/watch?v=d9PfOc-4lj0
Material Selection for Interlocking Parts
The choice of material is crucial when designing and 3D printing interlocking parts and assemblies. Different materials have varying properties that can affect the performance and durability of the interlocking features. Here are some common 3D printing materials and their suitability for interlocking parts:
1. PLA (Polylactic Acid)
- Pros: PLA is easy to print, has good dimensional accuracy, and is available in a wide range of colors. It is also biodegradable and environmentally friendly.
- Cons: PLA is relatively brittle and may not be suitable for applications that require high impact resistance or flexibility.
- Suitability: PLA is suitable for simple interlocking parts and assemblies that do not require high strength or flexibility.
2. ABS (Acrylonitrile Butadiene Styrene)
- Pros: ABS is strong, durable, and has good impact resistance. It can also be post-processed with acetone to achieve a smooth finish.
- Cons: ABS can be challenging to print due to its tendency to warp and emit fumes during 3D printing in Bangalore.
- Suitability: ABS is suitable for interlocking parts that require higher strength and impact resistance.
3. PETG (Polyethylene Terephthalate Glycol)
- Pros: PETG is strong, flexible, and has good chemical resistance. It is also easier to print than ABS and has less tendency to warp.
- Cons: PETG can be prone to stringing and requires careful tuning of print settings.
- Suitability: PETG is suitable for interlocking parts that require a balance of strength and flexibility.
4. TPU (Thermoplastic Polyurethane)
- Pros: TPU is highly flexible, durable, and has excellent impact resistance. It is also resistant to abrasion and wear.
- Cons: TPU can be challenging to print due to its flexibility and requires a well-tuned printer.
- Suitability: TPU is suitable for interlocking parts that require high flexibility and impact resistance, such as living hinges and snap-fit features.
5. Nylon
- Pros: Nylon is strong, flexible, and has excellent wear resistance. It also has good chemical resistance and low friction.
- Cons: Nylon can be challenging to print due to its tendency to absorb moisture and warp.
- Suitability: Nylon is suitable for interlocking parts that require high strength, flexibility, and wear resistance.
3D Printing Techniques for Interlocking Parts
To achieve successful interlocking parts and assemblies, it is important to use the right 3D printing techniques and settings. Here are some key considerations:
1. Layer Height and Resolution
-
Layer Height: Using a smaller layer height can improve the accuracy and detail of the printed parts, which is important for achieving precise interlocking features. However, smaller layer heights will increase the print time.
-
Resolution: Higher resolution prints can produce smoother surfaces and more accurate interlocking features. Ensure that your printer is capable of achieving the desired resolution for your parts.
2. Print Orientation
-
Orientation: The orientation of the parts on the build plate can affect the strength and accuracy of the interlocking features. Orient the parts to minimize overhangs and support structures, and to maximize the strength of critical features.
-
Support Structures: Use support structures as needed to ensure that overhangs and complex geometries are printed accurately. However, be mindful of the potential impact of support removal on the interlocking features.
3. Infill and Wall Thickness
-
Infill: Adjust the infill density to achieve the desired balance of strength and weight. Higher infill densities can increase the strength of the parts, but will also increase print time and material usage.
-
Wall Thickness: Ensure that the wall thickness is sufficient to provide the necessary strength and durability for the interlocking features. Thicker walls can improve the strength of snap-fit features and other critical areas.
4. Print Speed and Temperature
-
Print Speed: Adjust the print speed to achieve the best balance of print quality and efficiency. Slower print speeds can improve the accuracy and detail of the parts, but will increase print time.
-
Temperature: Ensure that the print temperature is appropriate for the chosen material. Proper temperature settings can improve adhesion between layers and reduce the risk of warping and other print defects.
Our manufacturing experience can help you make decisions faster.
Choose one to get started
Post-Processing for Interlocking Parts
Post-processing can enhance the fit and function of interlocking parts and assemblies during 3D Printing service Bangalore. Here are some common post-processing techniques:
1. Sanding and Filing
-
Sanding: Use sandpaper to smooth rough edges and surfaces, improving the fit and appearance of the interlocking features. Start with coarse grit sandpaper and gradually move to finer grits for a smooth finish.
-
Filing: Use files to refine small details and tight spaces that are difficult to reach with sandpaper. Files can help achieve precise fits for snap-fit features and other interlocking elements.
2. Acetone Smoothing (for ABS)
-
Acetone Vapor Smoothing: Acetone vapor smoothing can be used to achieve a smooth, glossy finish on ABS parts. This process involves exposing the parts to acetone vapor, which dissolves the surface layer and smooths out imperfections.
-
Safety Precautions: Acetone is a volatile and flammable solvent, so it is important to use proper safety precautions, including working in a well-ventilated area and wearing protective equipment.
3. Painting and Coating
-
Painting: Painting can enhance the appearance of interlocking parts and provide additional protection against wear and environmental factors. Use compatible paints and primers for the chosen material.
-
Coating: Applying coatings such as clear varnish or epoxy can improve the durability and appearance of the parts. Coatings can also reduce friction and improve the performance of moving interlocking features.
4. Assembly and Testing
-
Assembly: Carefully assemble the interlocking parts to ensure proper fit and function. Test the assembly to identify any issues with alignment, fit, or strength.
-
Adjustments: If necessary, make adjustments to the design or post-processing to improve the fit and function of the interlocking features. Iterative testing and refinement can help achieve optimal results.
Case Studies and Examples
To illustrate the principles and techniques discussed in this guide, let's explore some real-world examples of interlocking parts and assemblies in 3D Printing services Bangalore:
1. Snap-Fit Enclosures
Snap-fit enclosures are commonly used in electronics and consumer products to house and protect components. These enclosures often feature cantilever snaps that allow for easy assembly and disassembly.
-
Design Considerations: Ensure that the snap features have sufficient flexibility and strength to withstand repeated use. Consider the material properties and design the snaps with appropriate clearances and tolerances.
-
Printing and Post-Processing: Use high-resolution printing to achieve precise snap features. Post-process the parts to smooth rough edges and ensure a clean fit.
2. Mechanical Gears and Linkages
Mechanical gears and linkages can be designed with interlocking features to create functional assemblies. These parts often require precise alignment and fit to ensure smooth operation.
-
Design Considerations: Design the gears and linkages with appropriate clearances and tolerances to ensure smooth movement. Use alignment features such as pins and holes to ensure proper positioning.
-
Printing and Post-Processing: Use high-resolution printing to achieve accurate gear teeth and linkage features. Post-process the parts to remove any rough edges or imperfections that could affect performance.
3. Modular Furniture and Fixtures
Modular furniture and fixtures can be designed with interlocking parts that allow for easy assembly and customization. These assemblies often use tabs and slots or other interlocking features to create stable connections in affordable 3D Printing services.
-
Design Considerations: Ensure that the interlocking features provide sufficient strength and stability for the intended use. Consider the material properties and design the features with appropriate clearances and tolerances.
-
Printing and Post-Processing: Use high-resolution printing to achieve precise interlocking features. Post-process the parts to smooth rough edges and ensure a clean fit.
Conclusion
3D printing interlocking parts and assemblies offers a wide range of possibilities for creating functional, efficient, and aesthetically pleasing designs. By understanding the key design principles, selecting the appropriate materials, using the right printing techniques, and applying effective post-processing methods, you can achieve successful interlocking assemblies that meet your specific needs.
Whether you are designing snap-fit enclosures, mechanical gears, modular furniture, or any other interlocking assembly, the principles and techniques discussed in this guide will help you achieve optimal results. Embrace the versatility and potential of 3D printing to create innovative interlocking parts and assemblies that push the boundaries of design and manufacturing.


