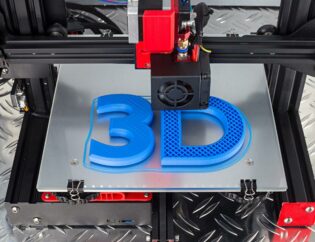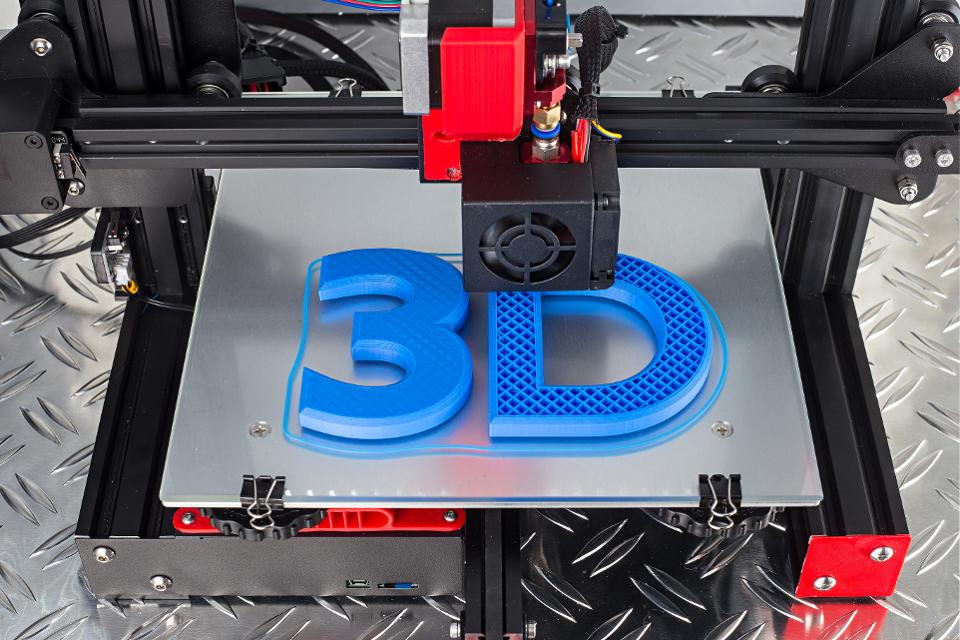
3D printing has democratized manufacturing, bringing the power of creativity and precision into the hands of hobbyists and professionals alike. However, the constraints of print bed size and the complexity of creating intricate designs often make it necessary to assemble 3D printed parts using adhesives. Gluing 3D prints is an essential skill, whether you're assembling functional prototypes, large models, or intricate sculptures. This comprehensive guide delves into the nuances of gluing 3D prints, covering the types of adhesives, preparation techniques, bonding strategies, and troubleshooting common problems.
Understanding Adhesives for 3D Prints
Types of Adhesives
The success of gluing 3D prints is primarily dependent on choosing the correct adhesive. Different materials and applications necessitate the use of specific adhesives to achieve strong, reliable bonds in 3D Printing services.
- Cyanoacrylate (Super Glue)
- Overview: Cyanoacrylate is well-known for its fast bonding time and strong adhesion properties, making it a popular choice for quick fixes and strong joints.
- Best for: PLA, resin prints, and small parts.
- Application Tips: Use in a well-ventilated area; apply sparingly for a strong bond without foaming. Consider accelerators or primers to improve bond strength on difficult surfaces in the 3D Printing service.
- Epoxy Resins
- Overview: Epoxy resins offer durable and robust bonding and are perfect for larger parts or where additional strength is necessary.
- Best for: ABS, PETG, and large or load-bearing parts.
- Application Tips: Mix evenly and apply quickly, as epoxy sets rapidly. Clamping parts until fully cured enhances bonding strength.
- Polyurethane Adhesives
- Overview: Polyurethane adhesives are versatile, providing strong, flexible bonds that are resistant to environmental factors.
- Best for: Nylon and high-impact materials.
- Application Tips: Moisture helps accelerate the curing process, but use minimal amounts to prevent excess foaming or distortion.
- Solvent Cements
- Overview: These adhesives dissolve the surfaces of the parts to be joined, effectively welding them together.
- Best for: ABS and PLA.
- Application Tips: Use sparingly to prevent surface distortion; ensure even application across bonding surfaces.
- UV-Curing Adhesives
- Overview: These adhesives harden under ultraviolet light, providing a clean and accurate bond.
- Best for: Resin and other UV-sensitive 3D print materials.
- Application Tips: Cure under UV light for the recommended time; ensure surfaces are clean and dry for optimal adhesion.
Preparation: Getting Ready to Assemble
Surface Preparation
For adhesives to form a strong bond, the surfaces of the 3D prints must be meticulously prepared. Proper preparation methods can significantly enhance the effectiveness of the adhesive when 3D Printing Bangalore.
- Cleaning: Remove oils, dust, and any debris using isopropyl alcohol. Avoid water-based cleaners that can leave residues.
- Sanding: Lightly sand the surfaces to be joined to create a rough texture, improving adhesive grip. Use fine-grit sandpaper to avoid visible damage.
- Degreasing: Particularly important for surfaces like ABS or PETG, which may have a slightly oily finish, inhibiting adhesion.
- Dry-Fitting: Before applying glue, assemble the pieces without adhesive to ensure proper alignment and fit.
Aligning Components
Proper alignment is crucial for a seamless finish when gluing 3D prints during 3D Printing in Bangalore.
- Clamping Strategies: Determine the need for clamps, vices, or specialized fixtures to hold components together during curing. Avoid over-tightening, which can squeeze out too much adhesive.
- Registration Marks: Use small marks or tabs on your design to aid in precise alignment. This can be particularly helpful for intricate assemblies or very large parts.
Techniques for Effective Bonding
Layering and Application
The method of applying the adhesive can have a major impact on its effectiveness:
- Brush or Dab: Use a fine brush or blunt tool to apply glue, especially for small parts or intricate designs to avoid excess.
- Even Spread: Ensure the adhesive evenly covers the entirety of the surfaces to be joined to prevent weak spots.
- Application Tools: Consider using disposable pipettes for fine control or spatulas for larger areas.
Sequencing and Staging
For complex assemblies, determining the sequence of bonding steps can improve outcomes when 3D Printing online.
- Stage Bonds: Bond parts in stages rather than attempting to glue the entire assembly at once. This controls the curing process and prevents misalignment.
- Temporary Holding: Use painter’s tape or other temporary measures to hold parts in place while the adhesive initially sets.
Curing: Ensuring Strong Bonds
Time and Environment
Curing time and environmental conditions greatly affect the results when gluing 3D prints.
- Setting Time: Respect the specified setting time for the adhesive you’re using. Attempting to move or further work on parts before curing can weaken the bond.
- Environmental Control: Maintain a stable temperature and humidity during the curing process. Extremes can adversely affect adhesive performance.
- UV Light for Curing: If using UV-cure adhesives, ensure consistent exposure to UV light sources. Protect surrounding areas not meant to be glued.
Reinforcement Techniques
Reinforcing adhesive bonds can be crucial for load-bearing joins or when working with heavy components:
- Internal Supports: Consider adding small internal structures that span the glued joint to provide additional load capacity.
- External Reinforcements: Apply additional material such as fiberglass wraps around critical joints for added strength.
Troubleshooting Common Problems
Despite best efforts, issues may arise during or after the gluing process.
Common Issues and Solutions
- Insufficient Bond Strength:
- Causes: Incorrect adhesive type, poor surface preparation, inadequate curing time.
- Solutions: Re-evaluate the adhesive choice; ensure surfaces are well-prepared and aligned before application.
- Visible Seams or Gaps:
- Causes: Misalignment, insufficient adhesive application.
- Solutions: Use filling techniques or gap fillers post-assembly; ensure proper fit during dry runs.
- Curing Issues:
- Causes: Inadequate light exposure or incorrect environmental conditions.
- Solutions: Adjust curing environment conditions or equipment to ensure consistent and thorough curing.
Corrective Measures
- Sanding and Refinishing: If seams are visible, light sanding and refinishing (painting or applying surface treatments) can help.
- Re-Application: In some cases, disassembling and reapplying adhesive may be necessary, paying careful attention to preparation and alignment errors.
Innovations and Advances in 3D Print Adhesion
New Adhesive Technologies
The rapid development of new adhesives is offering exciting advances for 3D print assemblies during 3D Printing in Bangalore:
- Nano-Enhanced Adhesives: Incorporating nanoparticles to enhance adhesion strength and durability.
- Bio-Inspired Adhesives: Developing adhesives mimicking natural sticking mechanisms, like gecko feet, for enhanced grip without damage.
Integrated Bonding Solutions
As online 3D printing technology evolves, integrated solutions are being developed:
- Multi-Material Printing: Printing with materials that bond on a chemical level, reducing the need for separate adhesives.
- Self-Adhesive Filaments: Materials that adhere during the printing process, minimizing post-print assembly needs.
Our manufacturing experience can help you make decisions faster.
Choose one to get started
Advanced Techniques and Case Studies
Advanced Techniques for Specialized Applications
- Hybrid Adhesive Approaches:
-
Combining Adhesives: In some cases, using a combination of adhesives can provide superior results. For example, using cyanoacrylate for initial tack and epoxy for long-term strength when 3D Printing in India.
-
Mechanical Fasteners: Incorporating mechanical fasteners like screws or pins along with adhesives can provide additional strength and alignment accuracy.
-
- Surface Treatments:
-
Primers and Activators: Using primers or activators can enhance the bonding properties of certain adhesives, especially on challenging materials like polypropylene or polyethylene.
-
Chemical Etching: For materials that are particularly difficult to bond, chemical etching can create a more receptive surface for adhesives.
-
Case Studies
- Large-Scale Architectural Models:
-
Challenge: Assembling large, intricate architectural models requires strong, precise bonds that can withstand handling and transportation.
-
Solution: Using a combination of epoxy resin for structural integrity and cyanoacrylate for quick setting during assembly. Reinforcing critical joints with internal supports and external fiberglass wraps ensured durability.
-
- Functional Prototypes:
-
Challenge: Creating functional prototypes that need to withstand mechanical stress and repeated use.
-
Solution: Utilizing polyurethane adhesives for their flexibility and impact resistance. Incorporating mechanical fasteners in high-stress areas provided additional security.
-
- Intricate Miniatures and Figurines:
- Challenge: Assembling small, detailed parts without visible seams or excess adhesive.
-
Solution: Using UV-curing adhesives for precise application and clean finishes. Employing fine brushes and pipettes for controlled adhesive application ensured minimal excess and strong bonds.
Future Trends in 3D Print Adhesion
Smart Adhesives
The development of smart adhesives that can change properties in response to environmental stimuli is an exciting frontier. These adhesives could offer dynamic bonding solutions, adapting to different stresses and conditions to maintain optimal performance for 3D Printing service in India.
Automated Assembly
As 3D printing technology advances, automated assembly systems that incorporate adhesive application and curing processes are becoming more feasible. These systems could streamline the assembly of complex parts, reducing the need for manual intervention and improving consistency.
Sustainable Adhesives
With growing environmental concerns, the development of sustainable adhesives made from renewable resources or designed for easy recycling is gaining traction. These adhesives could provide strong, reliable bonds while minimizing environmental impact.
Additional Tips and Best Practices
Safety Considerations
When working with adhesives, safety should always be a priority. Here are some essential safety tips:
-
Ventilation: Always work in a well-ventilated area to avoid inhaling fumes from adhesives, especially cyanoacrylate and solvent cements.
-
Protective Gear: Wear gloves to protect your skin from direct contact with adhesives. Safety glasses can prevent accidental splashes from reaching your eyes.
-
Storage: Store adhesives in a cool, dry place away from direct sunlight and out of reach of children and pets.
Storage and Shelf Life of Adhesives
Proper storage of adhesives can extend their shelf life and maintain their effectiveness when online 3D Printing Bangalore:
-
Sealed Containers: Keep adhesives in tightly sealed containers to prevent them from drying out or becoming contaminated.
-
Temperature Control: Store adhesives at recommended temperatures, typically between 50°F and 77°F (10°C and 25°C), to maintain their properties.
-
Labeling: Label containers with the date of purchase and expiration date to ensure you use them within their effective lifespan.
Customizing Adhesive Solutions
Sometimes, off-the-shelf adhesives may not perfectly suit your specific needs. Customizing adhesive solutions can provide better results for online 3D Printing services:
-
Mixing Adhesives: For certain applications, mixing different types of adhesives can provide a balance of quick setting and long-term strength.
-
Additives: Adding fillers or thickeners to adhesives can improve their gap-filling properties and enhance bonding strength.
Post-Bonding Finishing Techniques
After the adhesive has cured, additional finishing techniques can improve the appearance and functionality of the bonded parts:
-
Sanding: Lightly sand the bonded area to smooth out any excess adhesive and create a seamless finish.
-
Painting: Apply paint or other surface treatments to the bonded area to match the rest of the print and enhance its appearance.
-
Sealing: Use sealants or clear coats to protect the bonded area from environmental factors and improve durability.
Community and Resources
Engaging with the 3D printing community can provide valuable insights and support for online 3D Printing:
-
Online Forums: Participate in online forums and discussion groups to share experiences, ask questions, and learn from others.
-
Workshops and Meetups: Attend local workshops and meetups to connect with other 3D printing enthusiasts and professionals.
-
Tutorials and Guides: Explore online tutorials and guides for step-by-step instructions and tips on gluing 3D prints.
Conclusion: Gluing 3D Prints
Gluing 3D prints is an essential skill that can significantly enhance the versatility and complexity of your projects. By understanding the different types of adhesives, preparing surfaces properly, applying adhesives effectively, and troubleshooting common issues, you can achieve strong, durable bonds that stand the test of time. As technology continues to evolve, new adhesives and innovative bonding solutions will further expand the possibilities of 3D printing, enabling even more complex and creative designs. This comprehensive guide equips you with the insights and techniques needed to confidently tackle any gluing challenge, ensuring professional-quality results every time. Whether you're a hobbyist or a professional, mastering the art of gluing 3D prints will open up new opportunities for creativity and innovation in your projects.